Finishing Plastic
How to finish plastic
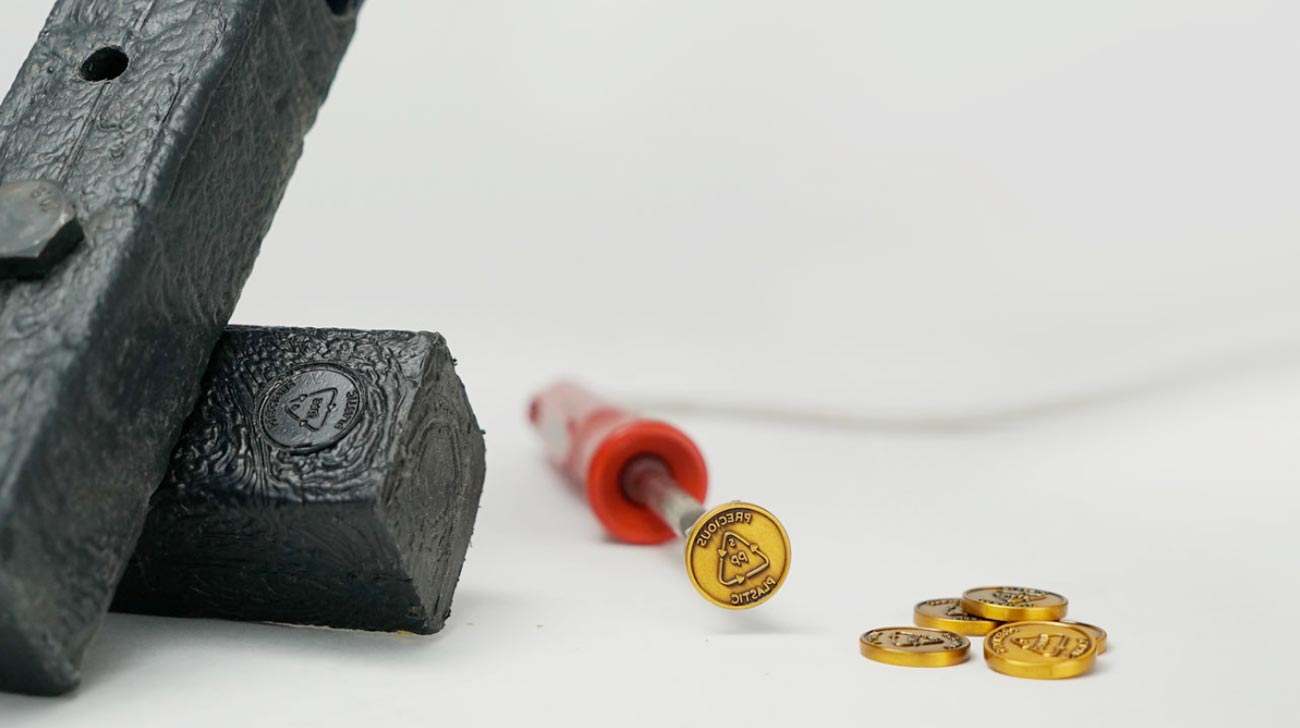
So we’ve gone through how to use plastic, how to build and use the machines, and how to make products - a crucial part of this process is finishing your products off. They might come out of the mould pretty rough, or not what you had in mind, so we’ll go through some techniques to cut, heat and sand it so you (and your customer) will get the most out of your product. And last but not least, we’ve got some Precious Plastic stamps so you can mark your item with the plastic type.
Pro tip: more accurate moulds will result in less finishing. If you have a very precise CNC milled mould, there will likely be no finishing. If you make your own mould, be sure to polish it thoroughly to get a smooth finish.
The first thing to remember
We’re going to drive this home again: the more accurate your mould, the less work you’ll have to do in post-processing. If you’re going to make 100 bowls, making sure your mould is super polished might save you a few minutes of sanding. Times that by 100 bowls, it definitely adds up! So take it from us: spend time on your mould. And if plastic does stick, head to your local hardware store and pick up some mould release, this should help.

Soft plastics vs hard plastics
When working with soft plastic, like HDPE, PP, LDPE they will have a nice matte finish, and will never be shiny. They are more flexible and are harder to work with, and there are a few techniques you can use to finish:
- When finishing edges, use a basic knife to cut the rough parts off
- When finishing surfaces, use a blade or if you want to smooth out a surface
- If you have plastic, stringy fibres, you can use a heat gun over the surface. Be careful though - this will change the texture of your product
When working with hard plastics like PS they will come out with a smooth and shiny surface, and are much easier to polish and can be sanded very well.
- When finishing edges or surfaces, you can sand by hand or use a machine, from grain size 450 to 1500.
- When polishing, you can use toothpaste (yep!) but only on white/light surfaces. For anything dark or with a colour, we suggest using a normal polish from the hardware store (we use one from the car industry). Polishing this way is very labour intensive, but comes out with some beautiful results!
Marking your products
Right on! OK now you have a pile of your products, it’s time to mark them. It’s very important to make sure that once your product has reached the end of it’s lifespan (hopefully that’s a long time away) that you, or the next person knows which plastic type it is so they can shred it and remould it again. As well as this, working with the Precious Plastic process is labour intensive: you have to collect the plastic, separate/shred/clean it, mould it, finish it and mark it. So not only can this mark be used to show the plastic type, but also as a kind of trademark for plastic products with a higher value. You can buy them on the bazar here.

🙌 Useful Links
- Different extrude textures
- Simple trick to mark your products
- Make your sheet shiny
- Polystyrene transparency
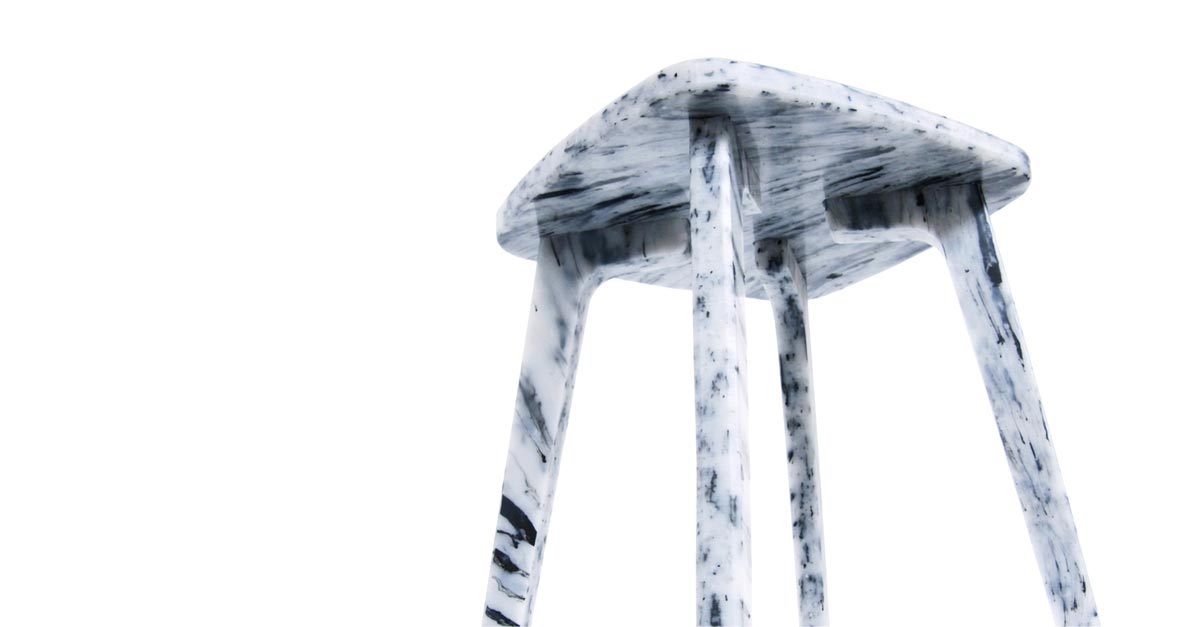
- Valuable marble from plastic
🌎 Some products by the community
Want to share feedback, chat about products/product design or learn more from the community? Head to the #Create channel on Discord. Here we talk about product design, mouldmaking, color blends, finishing.. everything to create precious objects!


